On iPhones and iPads, there are many file managers and WebDAV clients. We have tested and can recommend GoodReader which is not free but very powerful and convenient.
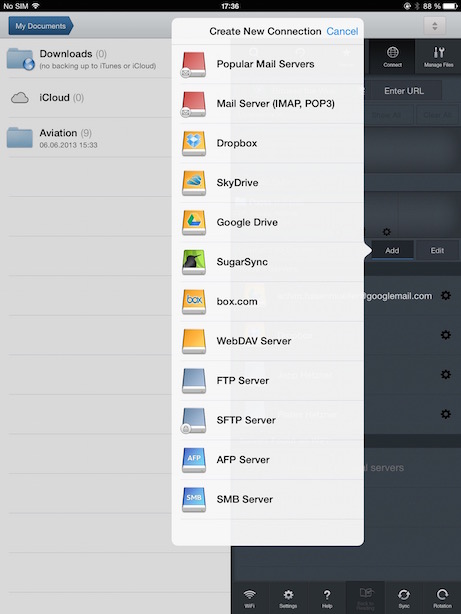
In the app, switch to the “Connect” tab in the top right corner. There you will find a list of servers and a button “Add” which brings up the new connection dialog. Choose “WebDAV Server” and enter the details for the autorouter server.

The URL address of the server is
https://www.autorouter.aero/webdav
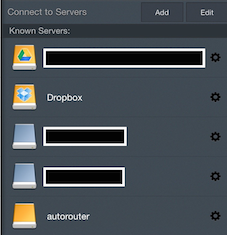
Use your standard autorouter login and password, just like for the website. The server will now appear at the bottom of the known server list.
Tap on the server to bring up its contents. You can now browse through the document and folder hierarchy and download folders or individual files.
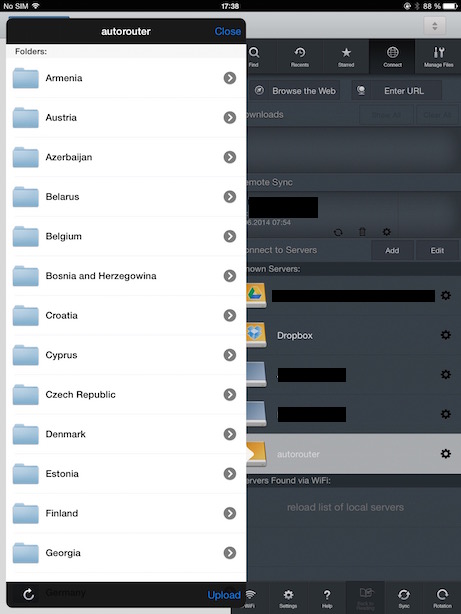
You can now setup automatic synchronization. This can be done on a folder level, i.e. you create one sync per country if you start at the top level. If you tap a country, you will see the option “Sync” at the bottom. If you tap multiple countries (folders to be precise), you can only choose to download once but not setup a sync process.
Tap on sync and choose the local folder where the data should be stored.

Confirm by choosing “Download here & Synchronize” which will show the sync options dialog.
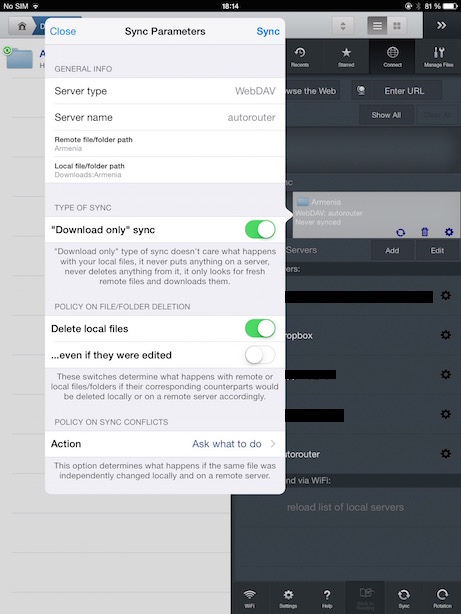
There you select “Download only sync” and confirm by tapping “Sync”. Now you have setup your sync and the documents will be downloaded.
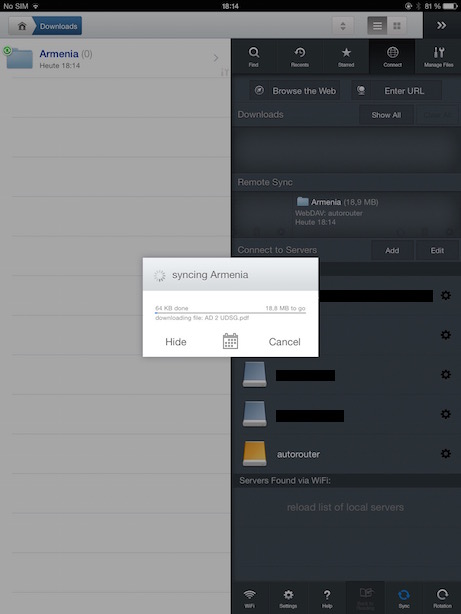
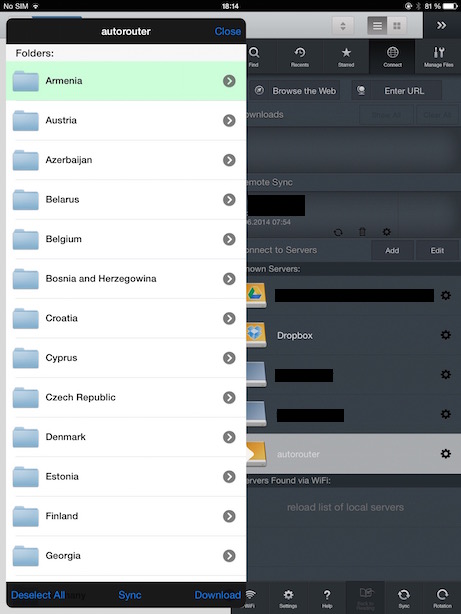
Repeat the above steps for all folders you want to keep in sync. Once setup, you only have to tap the “Sync” button in the bottom right corner of GoodReader and it will go through all folders and update them with the latest data. On the left side you see your folders and you can navigate through them, search, view, send, etc.